If you think the last section was long, this one is longer and full of the real meat and potatoes of how to be a strong player of CWG2. The essence of winning at CWG2 lies ultimately in your ability to retreat, rout or surrender a greater number of your opponents units than he does of yours. (And being able to do it where you critically need to!)
Whether on offense or defense, the actual actions are surprisingly similar. To a great extent, the attacker can determine/control the retreating direction of an opposing unit. Understanding how this works is absolutely crucial so I will expand on it in detail.
If all terrain behind a unit (behind is defined as the three hexes opposite the attacking unit) is the same, it will generally retreat to the hex directly opposite the attacker. If this hex is occupied, (defined as having either an enemy or friendly unit in that hex), it will retreat to one of the two open hexes next to the directly behind hex. If the terrain on one side is open, or downhill, the retreating unit will most likely choose that hex over woods, rough or uphill terrain on the other side. There is also a small 'randomizing' element in the game program that prevents this from being a surefire rule. In general, the unit will retreat to the hex that costs it the least amount of movement points.
If all three hexes on the behind side of a unit are occupied, the retreater will retreat into one of the two remaining open hexes on the attackers side. If their is only one open hex, the unit will retreat into this open hex. If a unit is surrounded by enemy units and forced to retreat he will surrender. If one of the surrounding units is friendly, the retreater will retreat over him to the nearest unoccupied hex in that direction. Units will not retreat over art/inf stacked together. Treat a hex like this as if it were a unit friendly to the attacker when determining retreat routes. Certain creek/river hexes cannot be retreated over either.
Using this knowledge, we can attack an opponent with the goal of being able to hit repeatedly and or surrender an enemy unit. A well organized (ie competent) defender generally places all his units more or less in a straight line. A perfectly straight line gives an attacker few chances. However, terrain and circumstances dictate that the line will almost never be straight. Or maybe the defender is weak and unable to have an unbroken line. Regardless, what you are looking for is opportunities to force an enemy unit to retreat to a hex where more attackers can hit it or rout it, or where he can be surrounded and surrendered. Sometimes the defender presents this opportunity by leaving a unit or two behind another unit. (This often happens the turn after an initial clash where both sides lines are disrupted.)
Take advantage of this situation by attacking from one of the three hexes on your side and leaving one or two hexes next to your opponent on your side vacant. Then when you force him to retreat, he has moved closer to you where another unit can hit the target and using guidance from cleverly moved attackers, he can be further hit or routed. CC's and cav bdes are often useful to move into place to further guide a retreating unit to where he can be surrounded. Sometimes it is necessary to retreat an enemy unit into a blocking position so that a second attack on a different unit can then force that second unit to retreat toward the attacker to be routed or surrendered by other units. I call this method of cutting off one unit from your opponent and then routing or surrounding him, the 'Slash and Burn' method of assault. These tactics are so successful that if you are not familiar with them, your opponent can totally destroy you with them. Conversely, if your opponent attacks and does not use them, you know you can probably defeat him soon and in detail. (Being Yanks a few times at Gettys comes to mind!)
Because morale is so crucial, the 'burning' of one unit, brings down the morale of other nearby units and enables you to burn them as well. Therefore I always start with that unit that is most likely to be culled. Once that unit is routed or surrendered, I move on to the next unit that particular turn. This domino effect will make later attacks in the turn easier as your opponents morale crumbles. Of course, planning may dictate that a certain unit must be burned first in order that the 2nd can be left with enough units near it to be burned also. Planning ahead is very crucial here and nothing is more frustrating than a 'cullable' unit left standing for lack of attackers!
Slashing and burning sounds good in theory, but how do we actually bring it about? If your opponents line is weak, (morale in the 60s) any charge with a unit at least 10 morale pts higher will probably succeed. (game randomness, terrain and even strength of the leaders involved can also change this calculation.) However on average, your opponent will have a unit with morale in the 70s. In order to push him back, you need to hit his unit with at least one arty shot and charge him with probably two units. The first will weaken him to 60-65 moral and then your second bde should be able to push him back with a charge. The first bde that attacks and does not succeed will have its morale lowered by at least 10 pts as well from an unsuccessful charge. However the unit that successfully charges will have its morale raised by 1-5 pts. Bearing in mind that the successful unit will probably have to withstand a counterattack, I want my strongest unit to charge 2nd and end up possessing the hex with the highest morale possible. Hopefully, this unit will have morale in the 80s or 90s and will take many attacks for the enemy to move.
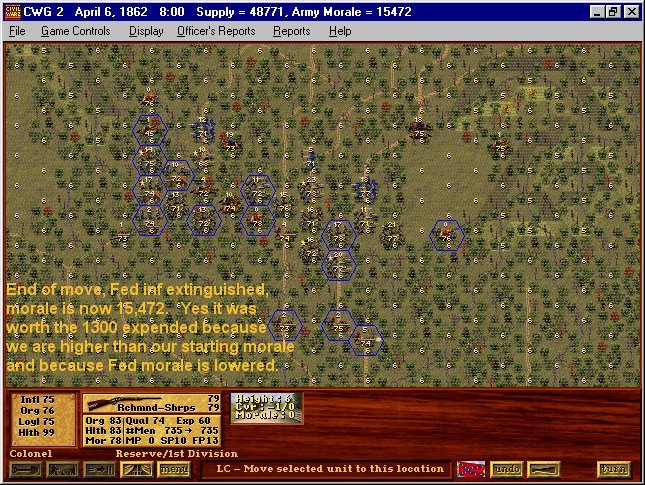
In 'the old days' before we had rout rules, the best tactics centered around routing one unit into the middle of your army or into a guided path where many/all your units could pound him repeatedly. This would dramatically lower your opponents morale and raise your own. Your opponent would then try to 'cull' one of your units in his turn to correct the morale imbalance. Due to the new rout rules, this is no longer possible. Now you should try to gain as many points and morale as possible by repeatedly hitting a unit until it routs. Then surround him and eliminate him to garner max points from the destruction of each unit. Plan carefully to make clear retreat routs with units available to hit a culled unit until it is extinct.
It is also crucial that you consider where your units end their turn at. Because your opponent will get his turn next, you want to make sure that you don't present him with the same opportunities he presented you. So make every adjustment you can to make sure you don't give him an easy target to 'cull'. If at all possible, try not to leave a unit with blocking units directly behind him. Also try not to leave a unit within 2 hexes of multiple opponents units that can be used to force him back and or cull him. Sometimes you won't be able to do this, so try to bring other units close to where you 'know' your opponent will counterattack because of the opportunity you have left him. That way on the following turn you will reap the benefit.